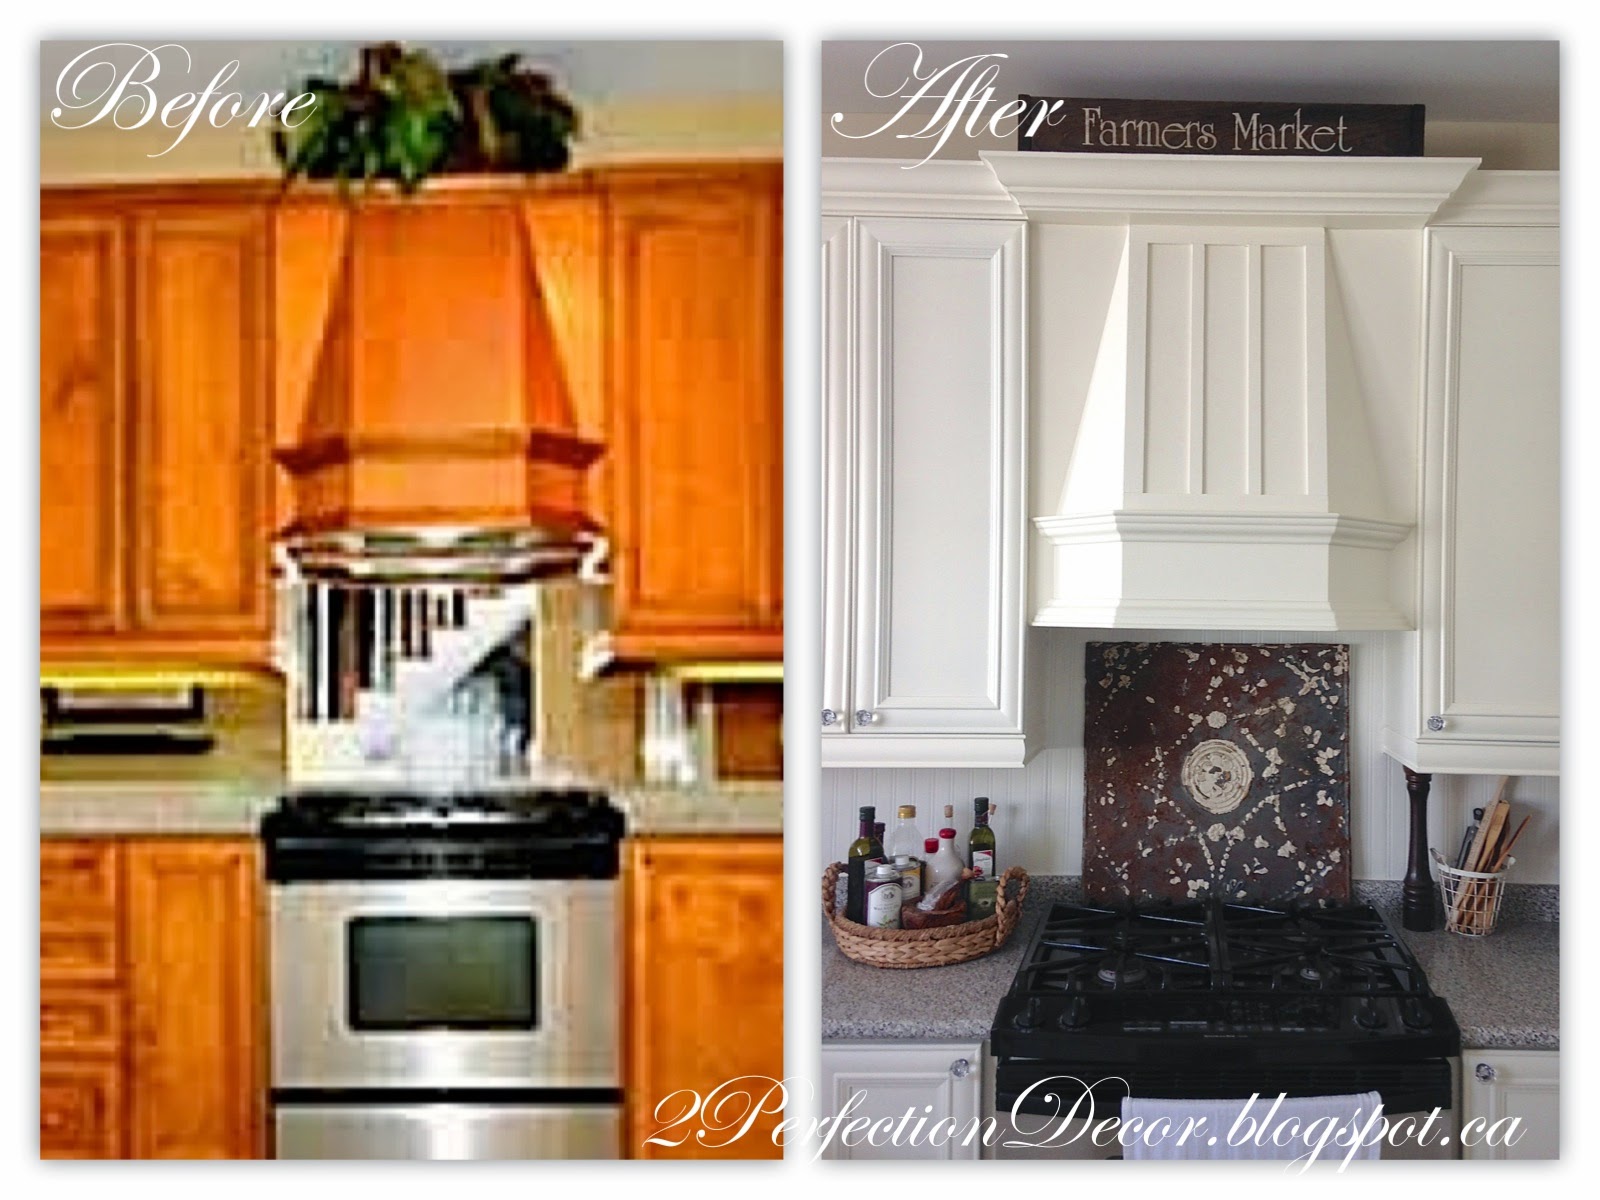
So I posted our full kitchen reveal a few weeks ago.. But today I thought I'd post about our hood fan transformation in a little more detail. If you want to see our full French Country Kitchen Reveal click here. We started by painting our Kitchen Cabinets.. We changed out the old crown moulding for a new thicker style and popped out the crown above the hood fan for a more detailed look.. But I still felt like something was missing. The original hood fan had a plain, flat front. So we added some simple wood trim strips for a more detailed, panneled look. See below on how to do it for yourself..


We went to our local hardware store and had thin strips cut from a 1/4" thick piece of wood.
We chose to have different width sizes of wood cut so it would flow better with our current cabinets. We kept thicker 1 1/2"W wood strips as the surrounding edge.. Basically creating a big main rectangle. The 2 inner wood panel strips are thinner at 1" width for a softer look.
We chose to have different width sizes of wood cut so it would flow better with our current cabinets. We kept thicker 1 1/2"W wood strips as the surrounding edge.. Basically creating a big main rectangle. The 2 inner wood panel strips are thinner at 1" width for a softer look.
We glued the wood trim panels down with No more Nails glue.
It super sticky and holds the wood fast.
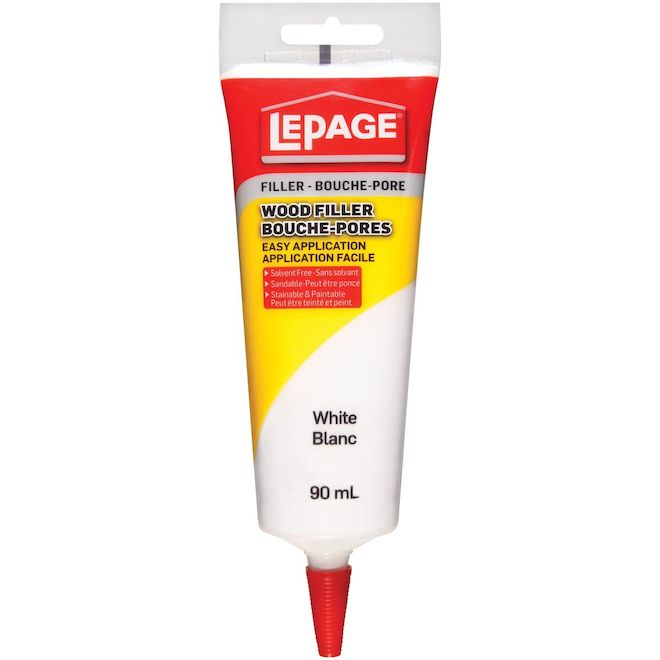
To finish the look we filled in any gaps with Lepage Wood Filler.. Its paintable and dries fast... Which is a good thing since I hate waiting! :) Finally we completed the look by painting the wood panels to match the cabinets in BM Linen White. A soft Creamy off white.
These simple trim changes created a more custom, distinguished detail I was looking for.
We are very happy with how it all turned out.. The Hood Fan no longer looks like a
builder basic decorative hood fan anymore.
If you liked this, you may like to see our FULL Kitchen Eating Area Reveal.
Thanks for stopping by.. Don't miss a post! Follow along through Bloglovin
Shared with:
THE SCOOP over at Cedar Hill Farmhouse
Moonlight & Mason Jar Link Party
Linky Party over at Liz Marie Blog
Remodelaholic - December Link Party- FEATURED!
Shared with:
THE SCOOP over at Cedar Hill Farmhouse
Moonlight & Mason Jar Link Party
Linky Party over at Liz Marie Blog
Remodelaholic - December Link Party- FEATURED!


No comments:
Post a Comment